|
|
Are you brainstorming ways to take your career to the next level or grow your business in 2025? In today’s digital economy, a website is a prerequisite for success as a solopreneur, remote worker or digital business owner. Even if you’re already set up on social media and have perfected your profile on platforms like PeoplePerHour and Upwork, you still need your own website. Yes, need. Here’s why:
You have full control
When you rely on third-party sites such as LinkedIn or Total, you have zero control over the features and functionality on offer. You’re also dependent on them staying in business to maintain your presence. When technical problems arise, you have no say in how quickly they’re resolved. Investing in your own affordable website for a small business or freelance career puts you in the driving seat. You can design your site to suit your needs exactly. You can include the features you want and leave out the things you don’t. In short, you don’t have to conform to someone else’s idea of what your online presence should look like. It’s all on you.
You control costs
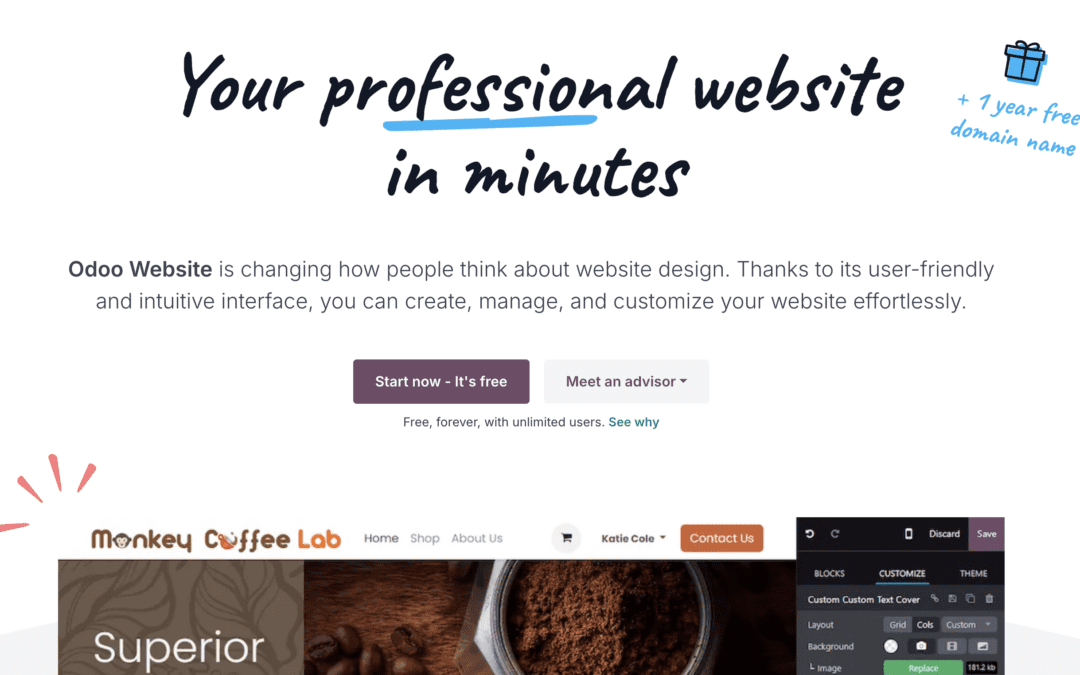
Most third-party websites will charge users for their more valuable features. For example, if you want to use LinkedIn Sales Navigator, you’ll need to take out a $99 monthly subscription. If you want to appear closer to the top of the search results on PeoplePerHour or Upwork, you’ll need to pay a fee to boost your profile. The problem with that approach is that your access is turned off as soon as you stop spending. No matter how much money you’ve spent, there’s no residual benefit. That’s not the case when you build a website. You’ll continue to benefit from any cash that you invest in its development and maintenance long after you’ve spent it. It’s also less expensive than you might think. A few years ago, you would have had to pay for a developer, a programmer, and a designer to get your new site live. Today, tools like the Odoo website builder allow you to build a professional-looking website without any coding knowledge. It’s fast, easy and more than affordable! All you need is a little time and a plan of action.
It’s easier to stand out from the competition
Standing out in digital marketplaces and social media is next to impossible. You can’t differentiate your profile from another freelancer or small business because millions of users must conform to the same branding and layout. That’s not the case when you decide to take the plunge and build a website from scratch.
You can remarket and reconnect
When you rely on third-party platforms for networking and lead generation, you are likely missing out on one of the most valuable pieces of intel going – your lead, customer, or connection’s contact information. Many freelancing platforms prohibit the exchange of direct contact information because they want to keep billing on their platform. While that’s fair enough, it does mean that you’re always beholden to that platform. With your own website, you can collect leads and contact information to develop your client database. Odoo’s website builder makes it easy to create sleek websites with customizable contact forms. Lead details entered on your site are automatically synced with Odoo’s CRM, keeping everything organized and ready for follow-up. This seamless integration saves time and helps turn potential leads into loyal customers.This is yet another reason to add ‘build a website’ to your 2025 to-do list.
Getting started
Having your own website is a powerful tool to achieve your goals, whether you want to strengthen your personal brand, unlock new career opportunities as a remote worker, or scale your SME. At this point, you might have a Google tab open and a search for ‘how to create a website without coding’ on the go. Instead, grab a coffee and a notepad and read on for our step-by-step website guide – no techie or coding knowledge needed!

Step 1: Think about what you want from your site
We’ve all heard the saying, “Failing to plan is planning to fail”, and while it’s a tiny bit annoying, it’s also very sage advice. It’s especially useful during the early stages of any marketing activity because it allows you to set goals, channel your resources and make smarter decisions later. At this stage, ask yourself: what purpose will my website serve? Common answers include:
- To showcase your personal brand
- To sell products and services
- To function as an online portfolio
It’s important to take the time now to decide on your website’s function. You’ll need to know its core purpose when deciding on a layout and design later. Don’t forget that your website could fulfil more than one purpose. It may be that you want to sell your products and services, for example, but you also want to showcase some of your previous work. Don’t shy away from multiple objectives. Later, we’ll share some of the best tools for website creation to help you develop a site that does everything you want it to do.
Step 2: Research other sites in your niche
Using a website builder makes the actual process of building your site easy, but figuring out what your site should look like and what information you should share is a little more complicated. This is a major stumbling block for many digital nomads and business owners embarking on a web design project for the first time. One way to overcome this mental block is to take inspiration from other sites in your niche. Spend some time researching competitors – not only does this serve as a source of inspiration, but it will also help you to identify what you like and don’t like about other sites. Make a list of:
- Sites you find engaging and easy to use (note down why you like those sites best)
- Colour combinations you like
- The style of layout you prefer
- Common menu items you’d like to replicate
- The type of information you find most useful
You can then use that knowledge to refine your page layouts and the overall look and feel of your new website. Easy, right?!
Step 3: Map out your website
Now we’re getting to the fun stuff! This is where your website starts coming to life. At this point, you’ll know:
- The purpose of your website
- How competitors have approached their own designs
- A rough idea of the kind of information you want to include
The next step is mapping out your site. This will make life much easier when you start physically building your new website. You can do this as a rough diagram on a piece of paper, on a spreadsheet or even as a Word doc. Use the format that you’re most comfortable with. Your goal is to create a list of pages you want to feature on your site. Try to group menu items so you can see where each page fits. For example:
Home page
Services
Service 1
Service 2
Service 3
About
Team
Testimonials
Contact
With your site’s blueprint in hand, it’s time to bring your vision to life. Odoo’s website configurator is the perfect tool to transform your ideas into a professional, functional site in 4 steps.Just define your business activity, choose a color palette, add pages and features, and pick the perfect template – ready to launch in no time! Plus, Odoo website builder’s flexibility ensures you can adapt your site structure as your needs evolve. 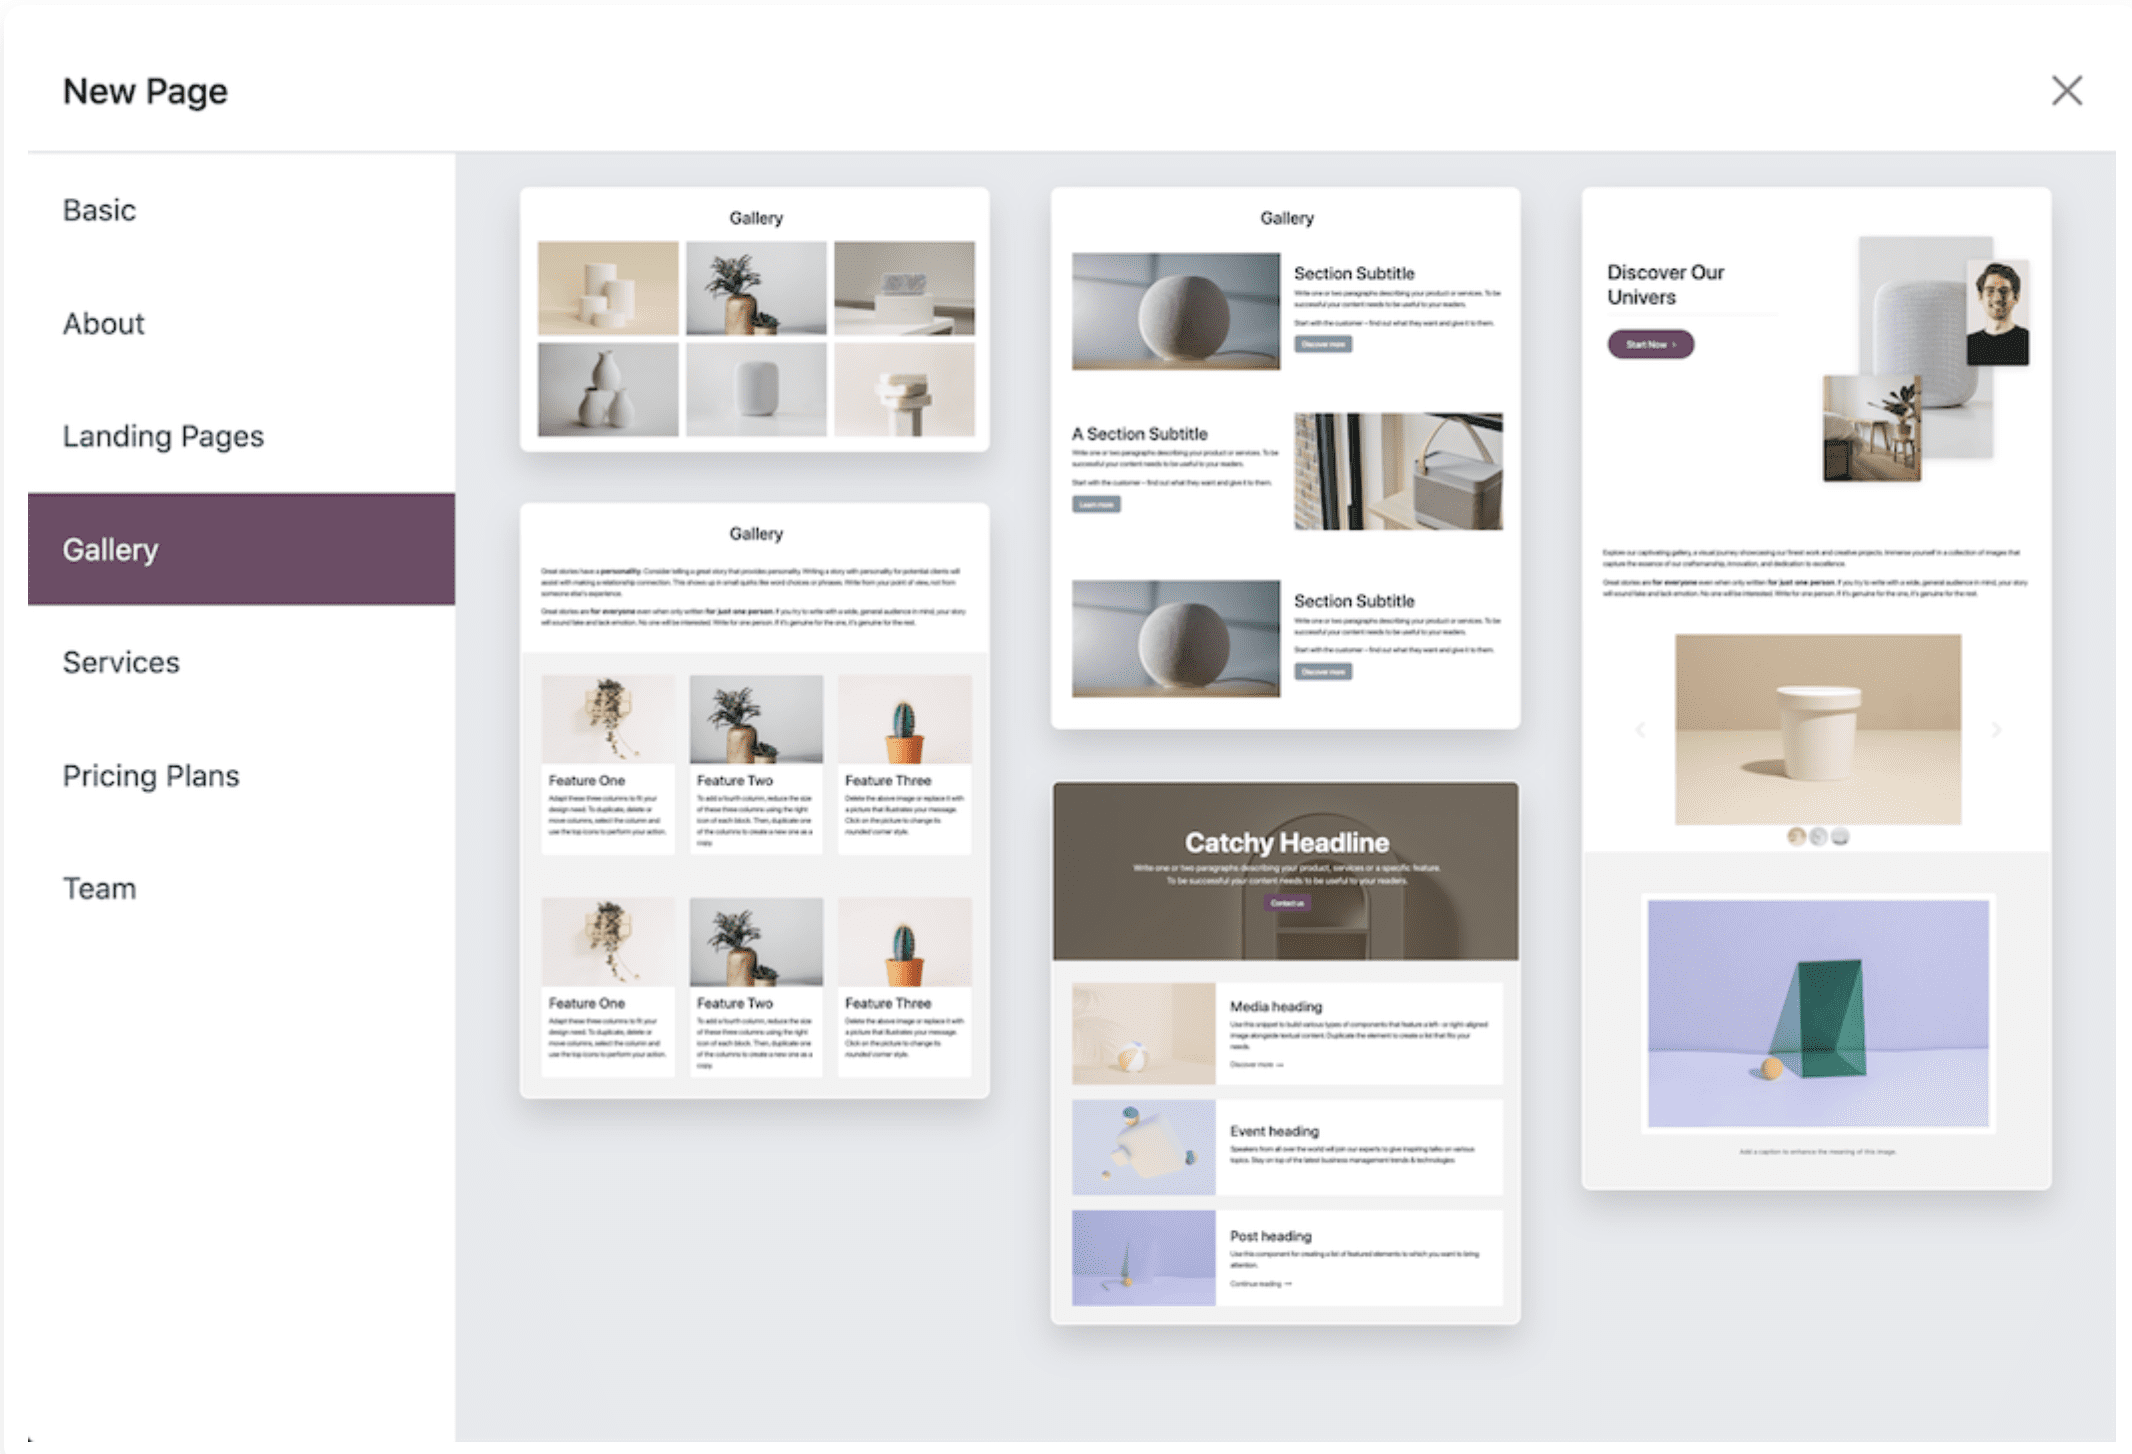
Step 4: Register your domain name
Your domain name is your web address. A common pitfall at this stage of the process is availability. You might find that someone else has already snapped up your domain name. If that’s the case, your provider will usually suggest similar options for you to consider. Try and be flexible. If your preferred .com name is taken, check if a different extension, such as .biz or .me, is available. Another great tip is to add a keyword relevant to your field of expertise. For example:
- JoeBloggs.com is taken. Why not check if JoeBlogsDesigner is free?
- JaneDoe.co.uk is already in use, could you try JaneDoePortfolio instead?
This not only makes your web address more memorable and increases the chances of it being available, but it can also help with search engine visibility later. You’ll pay an annual fee for your domain name. How much will depend on the name and the registrar(GoDaddy, 123 Reg, etc.). Did you know that Odoo offers you a free custom domain name for the first year?
Step 5: Arrange your website hosting package
The next step is to arrange a hosting package. This is the space on the Internet where your website will live. Your domain name registrar will likely offer hosting, too. If the thought of handling your hosting seems way too complicated at this stage, go for a no code website builder that also usually includes a web hosting. Using Odoo comes with the added benefits of unlimited hosting and dedicated support. If you have the technical knowledge to code your website yourself, choosing the right hosting package can feel like a minefield. It’s easy to be confused by what’s on offer. Never fear, our beginner-friendly website design tips also include a quick crash course in hosting! Things to look out for:
- Uptime: This is the amount of time you can expect your website to be operational. This figure should be in the very high nineties. Any lower and your website could be offline and glitchy more often than your anxiety levels can stand.
- Security credentials: You want to protect your website from intruders and hackers. An SSL certificate is a very good starting point, but your hosting should also offer a good level of overall security in the form of firewalls and protection from hacking, spam and malware.
- Speed and performance: Few things more frustrating than pages that take an age to load. The type of hosting package you choose will directly impact the page loading times (and therefore a positive experience for visitors or sheer frustration).
Step 6: Start building your website
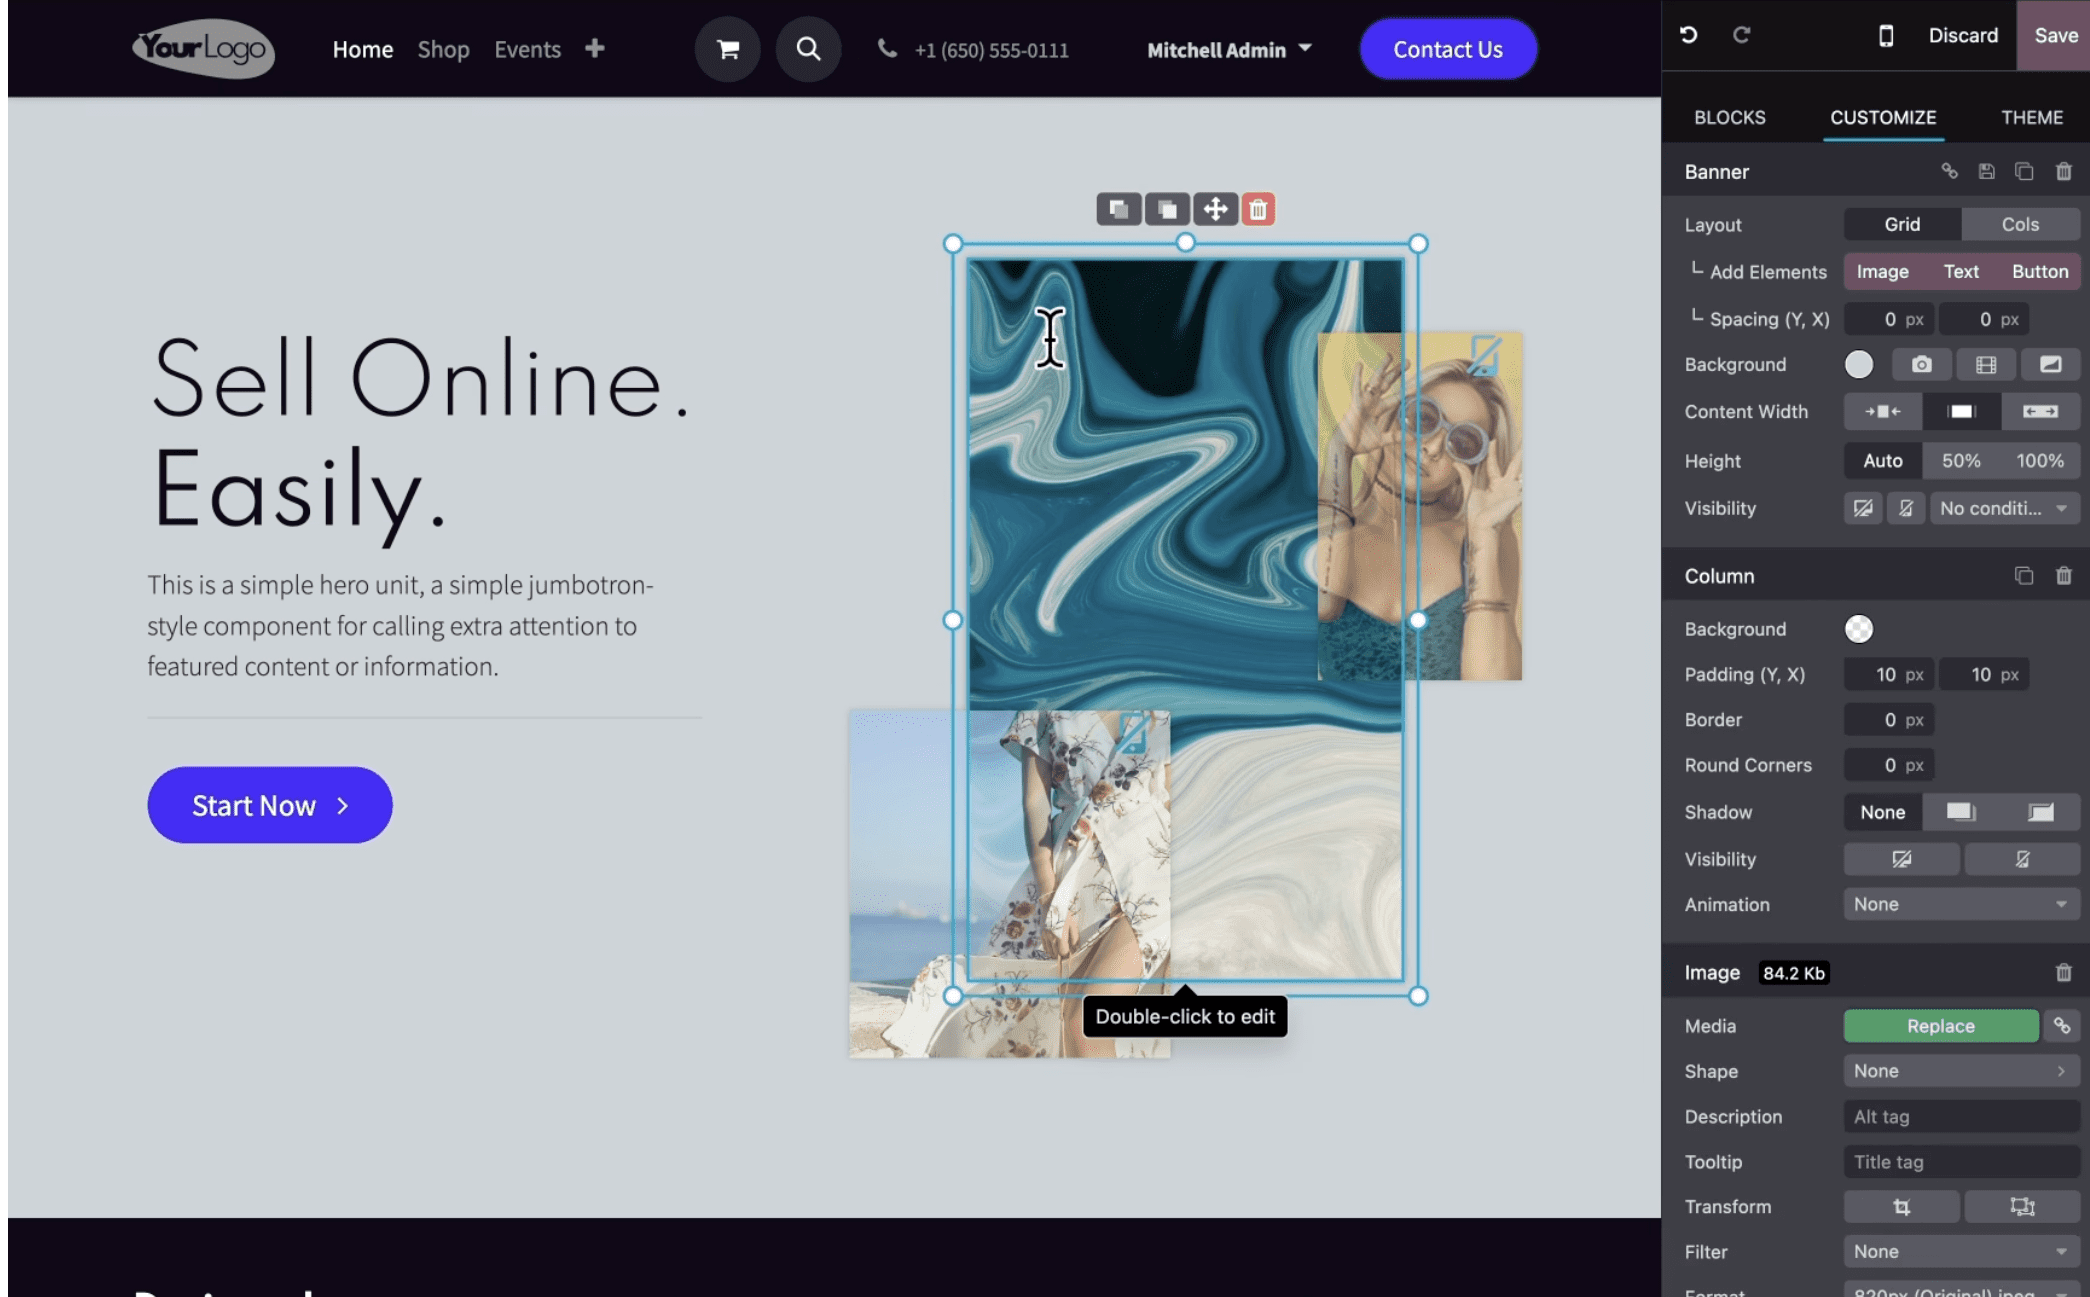
Finally, this is where the fun stuff begins! To successfully build a website without any coding knowledge, you need a website builder that’s designed to make life easier. No code website builders like Odoo use a drag-and-drop interface to simplify the page design process. It’s a much easier, less stressful way to design your site, and you’re assured of good results because all of the hard work of coding the page is done for you. It’s a win-win!
Step 7: Start designing your pages
In step three, you mapped out your website pages. That map now becomes your to-do list. Your task now is to build each of those pages. That might sound like a very daunting prospect, but it is as simple as dragging elements such as an image block, a text block, and so on onto your page. Once you have the main elements of your page laid out, you can begin to get creative:
- Experiment with additional design options such as changing the default colours, adding different imagery and incorporating more advanced elements.
- Odoo’s website builder lets you do all this and so much more! With a wide range of design options like shapes, animations, gradients, and typography, you can create visually stunning and unique web pages. It’s the perfect tool to bring your brand’s personality to life effortlessly.
Step 8: Add your text
Adding content to your design is a milestone moment. This is when your new online home really starts to take shape. Content creation can be deceptively challenging, but there are lots of tools which make the task a little easier:
- If you’re not confident in your grammar and punctuation skills, you can use Grammarly to proofread your text.
- If you’re staring at a blank page and that mocking blinking cursor, you can use ChatGPT to help you get started. And the good news is that Odoo integrates ChatGPT into its website builder, making it easier than ever to generate, reformulate, or even translate your website content in no time!
- If you aren’t sure about which keywords you should use, you can sign up for a free trial of SEMRush or Moz. They’ll tell you which words and phrases you should use to give you the best chance of ranking on Google.
With all that said, if writing really isn’t your forte, you may want to consider bringing in a professional copywriter. Not only will it save considerable time and stress, but you’ll also get a polished piece of text that packs a punch. If you’re part of a digital nomad community, you may already have a wordsmith within your professional network. Are funds tight? Consider a swap. You get the benefit of their copywriting prowess, and in return, they get to call on your skillset when needed.
Step 9: Test, test, test
Once you’re happy with the way your site looks and sounds, it’s time to test. You might be eager to tell the world about your beautiful new website but resist the urge to rush. Testing is your chance to perfect your new site before the world sees it. Call in a few favours and have your friends and family members help with this part. Ideally, you want people using different devices, different browsers and different connection speeds to visit your site. Ask them to spend time on each page and then report back any bugs:
- Are pages slow to load?
- Did you see any spelling errors?
- Are any images missing?
- Are there any broken links?
- Is the contact form working?
- Is it easy to navigate from page A to page B?
Step 9: Spread the word
It’s launch day! Now, you get to breathe a huge sigh of relief and enjoy the results of your hard work. It’s worth issuing a word of warning at this stage: launch day can be a little anticlimactic because you’ve put in hours of research and thought to create a site. It’s out in the world, but what now? Remember that people won’t automatically know about your site and flock to visit it on day one. You’ll need to raise awareness. Send emails and post on your social media. Add your web URL to your email signature and business cards. Take every opportunity you can to let people know that your site is now live. Commit to keeping it updated and you’re sure to begin reaping the rewards! Now that you know how it works, go ahead and create your own – Odoo has got your back!

